Windows 8.1 in VirtualBox
Running Windows 8.1 in VirtualBox is very simple. It’s the same as running any other Operating system in there, but there are a few settings you need to make sure you set, or else many bad things will happen.
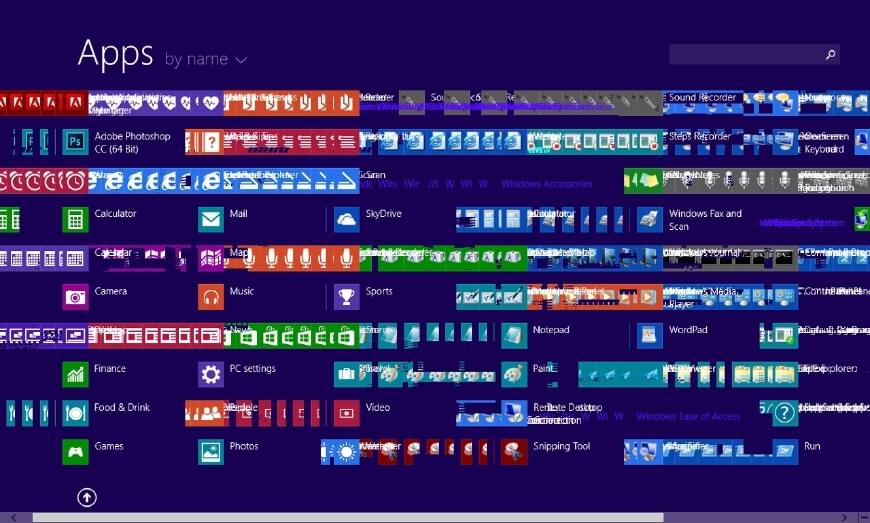
For instance, if you look at the image below, you will see how all the graphics on the Start page get a trailing view, and this happens in Apps and various other screens inside of Windows 8.1. I found a fix after messing around with the settings. Below are the steps to get setup using Windows 8.1 inside of VirtualBox. Keep in mind, Windows 8.1 is still not released, so full support for Windows 8.1 in VirtualBox is going to take a little bit long to get perfect, and Windows 8.1 may have some issues too, so don’t take it out on one or the other.
Corrupt Windows 8.1 Graphics in Virtual Box
Check your Virtual Box Version
Not all versions of VirtualBox allow for WIndows 8.1, and if you try to install it undering “Windows 8” instead of “Windows 8.1” it won’t even load the installer properly (in my experience).
- Open up VirtualBox
- In the top menu, go to “Help”
- Go to “About VirtualBox”. On the bottom it should show the Version. It has to be greater than or equal to 4.2.16.
- Ubuntu’s PPA Doesn’t have the latest version, so uninstall and download the DEB from VirtualBox.org’s website.
Setting Up Windows 8.1 in VirtualBox
- In VirtualBox, click on “New” to create a new Virtual OS.
- Name it anything, but pick “Microsoft Windows” and “Windows 8.1 (32 OR 64bit)”. Picking the wrong bit type will make the Virtual Machine not boot most of the time.
- Use the slider or text area to pick the Memory / RAM. I have a lot to spare so I used 4GB or 4096mb. Stay in the green part of the slider or your host computer will have trouble running.
- Create a new Virtual Hard drive. It doesn’t matter what type you use, I suggest sticking with the default “VDI” unless you have reason to use another.
- Pick the Storage Type of the HardDrive. Dynamiclly Allocated is the best choice so it doesn’t eat up all that drive space right away, and won’t take time to generate the disk file.
- Open up “Settings” after you finish the steps for creating a new Operating System
- Under “System” > “Processor”, enable “PAE/NX”. Without this some funky things happen currently in this version of VB.
- While you’re at “Processor”, you might want to increase your CPU Cores to more if you have them available. I have a 4core CPU, so I picked 4 cores and have not noticed any performance issues on Guest or Host Machine.
- Under “Display” > “Video”, increase the Video Memory as high as you can.
- Disable 3D Acceleration. This fixes some graphical issues in Windows 8.1 right now.
- Enabled 2D Acceleration for better perfomance.
- Now you are done, and can install WIndows 8.1 and run it. If not yet installed, go to “Storage” and under “IDE” where it shows “Empty”, click the disk next to it and find the ISO image or the CD Drive you wish to use to install Windows 8.1.